
Inventory count CSV for Shopify and Veeqo
Count a shelf by scanning, let ScanKeys tally the quantity of each barcode, and turn the export into a stock update for Shopify or Veeqo. This guide uses inventory count mode, part of ScanKeys Pro.
Before you start: always download a fresh template from Shopify or Veeqo and test the import with two or three products. Column names in these templates change from time to time; the template you download is the one to follow.
1. Count with ScanKeys
- Open ScanKeys and start inventory count mode.
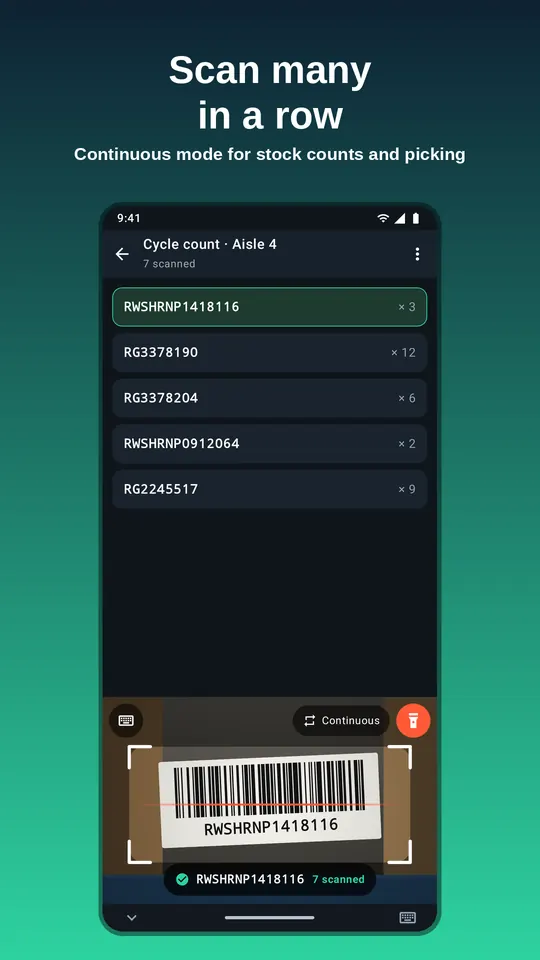
- Switch on Continuous scanning and Allow the same code twice in a row, so scanning the same product again adds one more.
- Work shelf by shelf. Each scan adds one to that barcode’s tally; the list shows the running count.
- When the location is done, export the count as CSV and save it or share it to Drive, email or Google Sheets.
2. Get the right identifiers
The export has one row per barcode with its counted quantity. Shopify and Veeqo usually match stock updates by SKU. If the barcodes you scanned are your SKUs (your own Code 128 shelf labels), you are ready. If you scanned manufacturer UPC/EAN codes, you need a barcode → SKU lookup:
- Export your product list from Shopify (Products → Export) or Veeqo (product export), which includes both SKU and barcode.
- Paste it into a second tab of the spreadsheet holding your count.
- Add a SKU column to the count with
=XLOOKUP(A2, Products!BarcodeColumn, Products!SKUColumn, "missing"). Fix any “missing” rows before importing.
3. Update Shopify
- In Shopify admin, go to Products → Inventory, choose the location you counted, and Export the inventory CSV.
- Open it in Google Sheets or Excel. Each row is a variant at that location, with its SKU and quantity columns (on hand / available).
- Use
XLOOKUPon the SKU to bring your counted quantity into the column Shopify’s template marks for the new on-hand quantity. Leave rows you did not count unchanged. - Save as CSV and use Import on the same Inventory page. Shopify shows a preview; check a few rows before confirming.
Selling on Shopify from your phone too? See scanning into the Shopify app.
4. Update Veeqo
- In Veeqo, open the inventory or stock import and download its CSV template for updating stock levels.
- Fill the template’s SKU and quantity columns (and the warehouse, if the template asks) from your count, using the same lookup as above.
- Upload the file. Veeqo sets the stock level for each SKU in that warehouse and pushes it to the channels you sell on.
Veeqo can also update stock by scanning inside its own mobile app if you have it set up; the CSV route is useful when you count with several people or offline.
Tips for a clean count
- Count one location (aisle, bin, warehouse) per export, and name the file after it.
- Count before the day’s picking starts, or pause orders for that location.
- Investigate big variances before importing: a quantity of 0 for a fast seller is usually a missed shelf, not missing stock.
- Keep the export. ScanKeys Pro also keeps your full scan history, so you can check what was scanned later.
Planning a regular cycle count? Read the warehouse inventory count page for a simple A/B/C schedule.